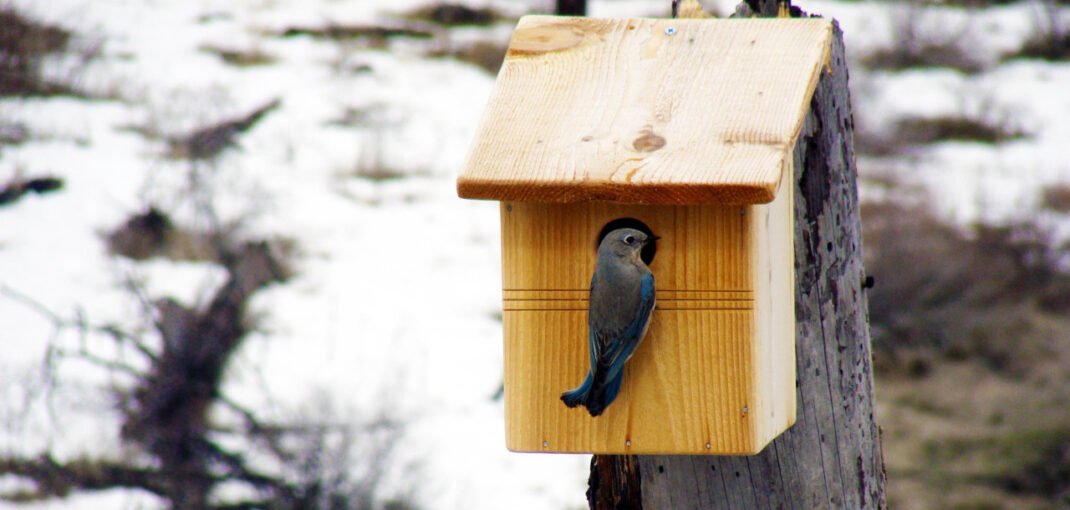
Now that nesting season is over and temperatures are dipping quite a bit, it’s time to put away those birdhouses, right? Not exactly.
Instead of putting away your birdhouses, convert them into winter roosting boxes.
Winter is a tough time for birds and finding shelter is a tall task for many species; however, with a few modifications, you can provide your local birds with a place to stay when the weather gets rough.
Clean it out and repair any damage
The first and most important thing you should do is clean it out. You’ll want to completely remove all the nesting material left in the house. This needs to be done to make room for visitors, but it also removes any mites or bacteria from previous occupants.
Once it’s sanitized, you should repair any damage and unclog every drainage hole. By taking some time to get it back into tip-top shape, this will extend the life of the birdhouse and ensure your birds are safe and sound.
Make sure the birdhouse is dry before putting it back up.
Flip the front panel upside (if applicable)
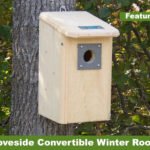
Along with cleaning and general repair, you should make sure the birdhouse is optimized for roosting. Some birdhouses and nesting boxes have front panels that flip upside down, moving the entrance to the lower part.
An example of this is the Convertible Winter Roost from Coveside Conservation Products.
Insulate the inside of the box
To insulate the box, add a layer of dried grass, sawdust, or hay to the floor of the box. Block ventilation holes by stuffing them with foam to trap the heat. This will make the inside nice and cozy.
Add perches inside the box
 When the birdhouse is used for nesting, it should be nice and roomy, but the opposite is true when it’s cold out. Birds like a smaller space with more opportunities to huddle together.
An easy solution is to lay twigs or small branches across the inside. If you’re the handy type, you can drill holes in the side of the house and insert a dowel that you can also remove when spring arrives.
Position it in the perfect spot
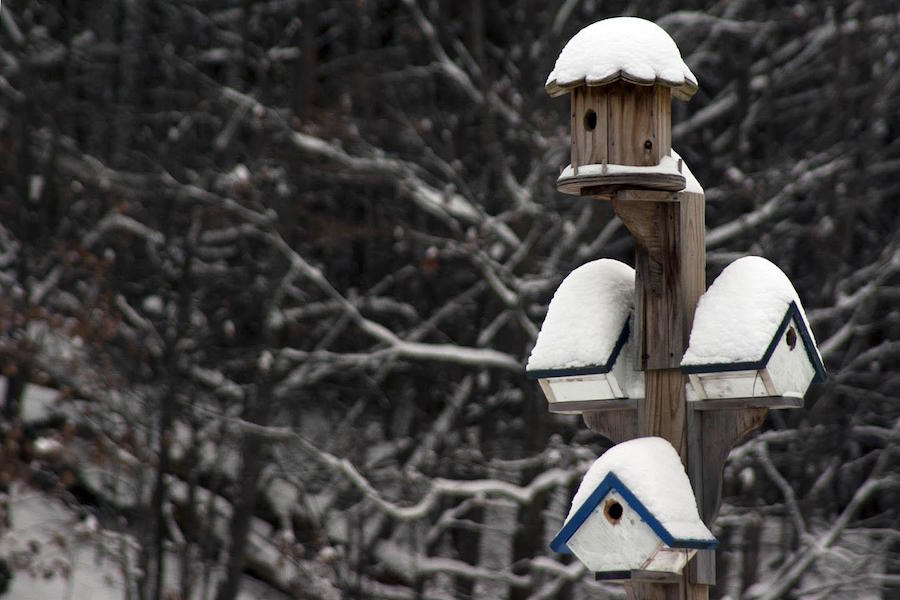
After all that, you’re ready to set up the box. You have to pay a little extra attention to the placement of your new roosting box. Make sure the entrance faces away from the wind to prevent the inside from filling with frosty air. The box should also be placed so it receives as much of the afternoon sun as possible to keep it warmer at night.
Some say that having the box up high during the winter is more appealing to roosting birds. This also protects it from predators.


11 Comments
I will clean out my birdhouses but purposely planted a lot of evergreens in my yard for them to roost naturally. Thank you for this article.
I built a couple winter roosts this week the size and shape of typical bird houses – taller than they are wide. I saw a horizontal winter roost that was 12-15 inches long and only a few inches high. This made sense to me since it traps the heat closer to the birds. Since most plans are for vertical shelters, I wondered if there is a reason to skip the horizontal roost. I would appreciate your thoughts on short vs tall winter roosts. Many thanks.
1 part bleach 9 part water. Use a good scrub brush. Wait 15 minutes. Dry 3 days in sun. From http://www.sialis.org